
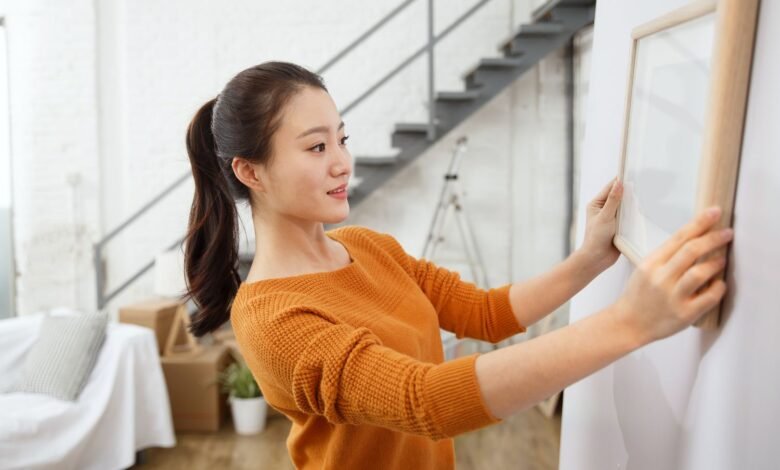
Decorating your walls can completely change the feel of a room. A carefully placed picture adds personality, warmth, and visual interest to a space. However, many people hesitate to hang artwork because they worry about damaging their walls. Nail holes, chipped paint, cracked drywall, and crooked frames are common concerns, especially for renters and homeowners who want to keep their walls in excellent condition.

The good news is that learning how to hang a picture properly doesn’t have to be complicated. With the right planning, tools, and techniques, you can display your favorite artwork, family photos, or decorative frames without leaving permanent damage behind.
This guide covers everything you need to know, from choosing the perfect location to using damage-free hanging methods that keep your walls looking their best.
BIO
| Label | Information |
|---|---|
| Topic | How to Hang a Picture |
| Article Type | Home Improvement Guide |
| Main Purpose | Hang pictures without wall damage |
| Skill Level | Beginner Friendly |
| Best For | Homeowners and Renters |
| Common Tools | Level, tape measure, pencil |
| Damage-Free Option | Adhesive hanging strips |
| Alternative Method | Removable wall hooks |
| Ideal Height | Around eye level |
| Key Benefit | Protects paint and drywall |
| Common Mistake | Hanging pictures too high |
| Safety Tip | Check frame weight before hanging |
| Expected Result | Straight and secure picture display |
Why Proper Picture Hanging Matters
Many people focus only on getting a picture onto the wall, but proper placement and installation make a significant difference.
A well-hung picture creates balance within a room and helps tie together furniture, colors, and decorative elements. Poor placement can make a room feel awkward, even if the artwork itself is beautiful.
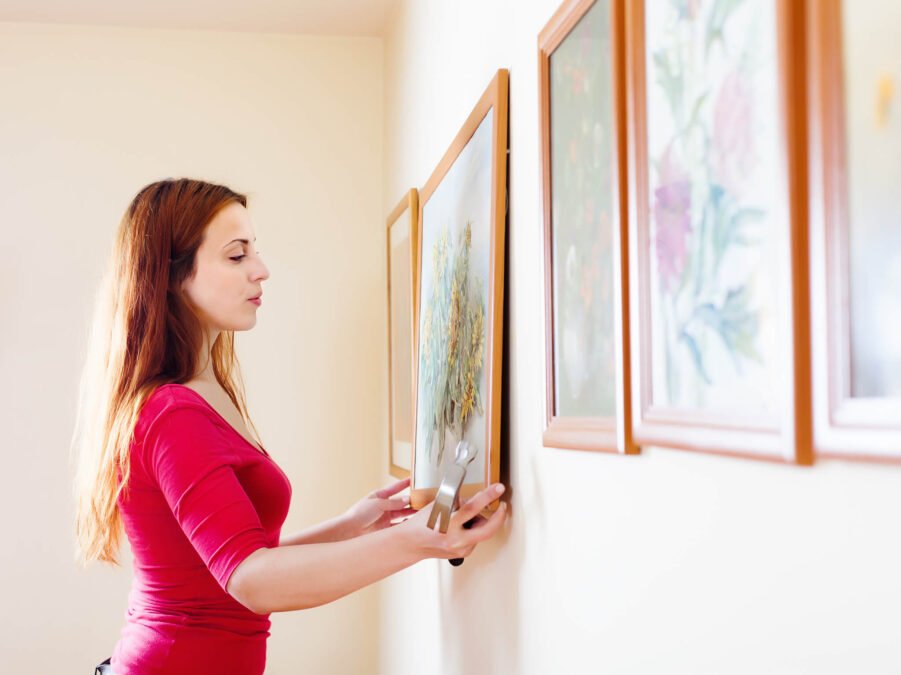
Beyond aesthetics, proper hanging methods also protect your walls. Repairing drywall, repainting damaged sections, or patching large holes can become expensive and time-consuming. Using wall-friendly techniques allows you to decorate confidently while maintaining the integrity of your walls.
Most importantly, secure hanging prevents accidents. Frames that are improperly mounted can shift, tilt, or even fall, potentially damaging both the artwork and surrounding furniture.
Gather the Right Tools
Before you start, it’s important to have a few basic tools available.
A measuring tape helps determine accurate placement. A pencil allows you to make temporary marks that can be erased later. A level ensures your picture hangs straight, while a microfiber cloth can be useful for cleaning the wall surface before applying adhesive products.
Depending on the hanging method you choose, you may also need removable hooks, adhesive strips, mounting putty, or specialized picture-hanging systems.
Preparing everything beforehand saves time and helps prevent mistakes during installation.
Choose the Best Spot
One of the biggest mistakes people make when learning how to hang a picture is selecting a location without considering the overall room layout.
Take a few minutes to study the wall before making any marks. Consider how the picture will interact with nearby furniture, windows, lamps, and decorative items.
In living rooms, artwork often works best above sofas, sideboards, or fireplaces. In bedrooms, pictures are commonly centered above the headboard. Hallways benefit from artwork that creates visual interest without making the space feel crowded.
Natural light is another important factor. Direct sunlight can gradually fade photographs, paintings, and prints. Position artwork where it can be appreciated without prolonged exposure to harsh sunlight.
A good placement should feel natural and balanced rather than forced.
Understand the Eye-Level Rule
Interior designers frequently rely on a simple principle known as the eye-level rule.
The center of the picture should generally sit around 57 to 60 inches from the floor. This measurement aligns closely with average eye level and creates a comfortable viewing experience for most people.
While this rule works well in many situations, it should not be treated as an absolute requirement. The surrounding furniture and room dimensions should also influence placement decisions.
For example, artwork hung above a sofa typically looks best when positioned approximately 6 to 10 inches above the furniture. This creates a visual connection between the picture and the furnishings below.
The goal is balance rather than strict adherence to a single measurement.
Measure Before You Hang
Careful measurements can prevent unnecessary wall damage and multiple installation attempts.
Start by measuring the width of the wall and the dimensions of the picture frame. Find the center point of the wall or furniture beneath the artwork.
Mark the intended location lightly with a pencil. Stand back and view the placement from different angles. If possible, have someone hold the picture against the wall while you evaluate the positioning.
This simple step helps identify potential issues before any hanging materials are installed.
Professional decorators often spend more time measuring than actually hanging the artwork because accurate planning produces better results.
Use Adhesive Picture Hanging Strips
One of the most popular damage-free solutions available today is adhesive picture hanging strips.
These strips are designed to hold frames securely while allowing easy removal later. When removed correctly, they typically leave no residue or visible wall damage.
To use adhesive strips effectively, begin by cleaning the wall surface according to the manufacturer’s recommendations. Dust, dirt, and oils can weaken adhesion.
Attach the strips to the back of the frame, press the picture firmly against the wall, and hold it in place for the recommended amount of time.
Always check the weight rating before installation. Using strips beyond their intended capacity may result in the frame falling unexpectedly.
For lightweight and medium-weight frames, adhesive strips often provide an excellent balance of convenience and wall protection.
Try Removable Wall Hooks
Removable hooks offer another practical option for people who want to avoid nails and screws.
These hooks attach using strong adhesive backing and can support various types of artwork depending on the product’s weight capacity.
They work particularly well for framed photographs, lightweight artwork, decorative signs, and seasonal decorations.
One advantage of removable hooks is flexibility. If you decide to rearrange your room later, the hooks can often be removed without leaving significant damage behind.
Following the manufacturer’s installation instructions carefully helps maximize holding strength and minimize removal issues.
Consider Mounting Putty
For very lightweight decorations, mounting putty can be surprisingly effective.
This reusable adhesive material is commonly used for posters, small frames, and lightweight decorative pieces.
Mounting putty offers several benefits. It is inexpensive, easy to apply, and generally leaves minimal traces when removed correctly.
However, it is not suitable for heavy frames or valuable artwork. Its strength is limited, making it best reserved for lightweight decorative applications.
If you are decorating a dorm room, rental apartment, or temporary living space, mounting putty can be a useful solution.
Keep Heavy Artwork Secure
Large or heavy pieces require additional planning.
Although damage-free products have improved significantly, some artwork may exceed the safe limits of adhesive-based systems.
For heavier pieces, consider professional-grade picture hanging systems designed to distribute weight more evenly. These systems often use rails and cables that minimize wall impact while providing excellent support.
Always verify the weight of your artwork before selecting a hanging method. A frame that appears lightweight may actually weigh considerably more than expected due to glass, backing materials, and frame construction.
Safety should always take priority over convenience.
Follow a Simple Hanging Process
Once you’ve selected the location and hanging method, the installation process becomes straightforward.
Begin by cleaning the wall surface thoroughly. Allow it to dry completely.
Measure and mark the desired position. Use a level to confirm alignment before attaching any hardware or adhesive products.
Install the chosen hanging solution according to instructions. Carefully position the picture and check that it sits straight.
After installation, step back several feet and evaluate the overall appearance. Minor adjustments at this stage can make a noticeable difference.
Taking your time during installation often produces more professional-looking results.
Common Mistakes to Avoid
Even experienced decorators occasionally make mistakes when hanging pictures.
One common error is hanging artwork too high. Pictures placed excessively above eye level often feel disconnected from the room.
Another mistake involves ignoring weight limits. Every hanging product has specific capacity guidelines that should be respected.
Failing to measure accurately can also create alignment problems, particularly when hanging multiple frames together.
Many people skip using a level and assume the picture looks straight by eye alone. Unfortunately, even slight tilts become obvious once the picture is viewed regularly.
Finally, overcrowding a wall with too many decorative elements can reduce visual impact rather than enhance it.
Avoiding these mistakes helps create a cleaner and more polished appearance.
Hanging Pictures Above Furniture
Artwork and furniture should work together rather than compete for attention.
When hanging a picture above a sofa, bed, console table, or sideboard, maintain a comfortable visual relationship between the two elements.
A general guideline is to leave approximately 6 to 10 inches of space between the top of the furniture and the bottom of the frame.
Artwork that is too high creates an awkward gap. Artwork that is too low may feel cramped.
Proper spacing helps establish balance and cohesion throughout the room.
Creating a Gallery Wall
Gallery walls remain one of the most popular interior design trends because they allow homeowners to showcase multiple pieces in a creative arrangement.
Before attaching anything to the wall, arrange the frames on the floor first. Experiment with different layouts until you find one that feels balanced.
Maintain consistent spacing between frames. Most designers recommend gaps of approximately 2 to 4 inches.
Start with the largest piece near the center and build outward around it. This approach creates a natural focal point and simplifies the arrangement process.
Planning ahead reduces mistakes and minimizes the need for repositioning.
Damage-Free Solutions for Renters
Renters often face strict lease agreements that prohibit excessive wall damage.
Fortunately, modern hanging products provide numerous alternatives to traditional nails and screws.
Adhesive strips, removable hooks, mounting putty, and temporary hanging systems allow renters to personalize their spaces without risking security deposit deductions.
When removing adhesive products, follow manufacturer instructions carefully. Pulling strips too quickly or at the wrong angle can sometimes damage paint.
Slow, deliberate removal typically produces the best results.
These renter-friendly solutions make it possible to enjoy beautifully decorated walls without permanent alterations.
Maintaining Your Display
Once your pictures are properly hung, occasional maintenance helps preserve their appearance.
Check frames periodically to ensure they remain level. Changes in humidity, temperature, or accidental bumps can cause slight shifts over time.
Dust frames and glass regularly using a soft microfiber cloth.
Inspect adhesive products according to manufacturer recommendations, particularly for heavier items.
A few minutes of maintenance every few months can keep your wall displays looking attractive and secure for years.
Final Thoughts
Learning how to hang a picture perfectly without damaging walls is a valuable skill that combines planning, precision, and the right hanging method. Whether you’re decorating a new home, refreshing a room, or personalizing a rental apartment, damage-free solutions make the process easier than ever.
By choosing the right location, measuring carefully, following the eye-level rule, and selecting wall-friendly hanging products, you can create attractive displays that enhance your space while protecting your walls.
The best results come from patience and attention to detail. A few extra minutes spent planning and measuring can transform an ordinary picture into a beautiful focal point that complements your entire room. With the proper approach, you can enjoy stylish, professionally positioned artwork without worrying about holes, cracked paint, or costly repairs.
Gary Anthony Williams: The Journey Behind a Versatile Star
Frequently Asked Questions
Can I hang a picture without using nails?
Yes, you can hang a picture without nails by using adhesive picture strips, removable wall hooks, or mounting putty. These options are ideal for protecting walls from holes and damage.
What is the best height to hang a picture?
A picture is usually best placed at eye level, with the center of the frame around 57 to 60 inches from the floor. When hanging above furniture, leave about 6 to 10 inches of space between the frame and the furniture.
Do adhesive picture hanging strips really work?
Yes, quality adhesive strips work very well when used correctly. Be sure to follow the manufacturer’s instructions and choose strips that can support the weight of your picture.
How do I remove picture hanging strips without damaging paint?
Pull the adhesive tab slowly downward as directed by the manufacturer. Removing the strip gradually helps prevent paint peeling and reduces the risk of wall damage.
Can I hang a heavy picture without damaging walls?
Yes, but you need the right hanging solution. Heavy artwork may require specialized wall-friendly hanging systems designed to distribute weight safely while minimizing wall damage.
